

Hi Everyone. I'm a custom frame builder based in India. I've always wanted to build a bike using aero tubing, but never got the opportunity until now.
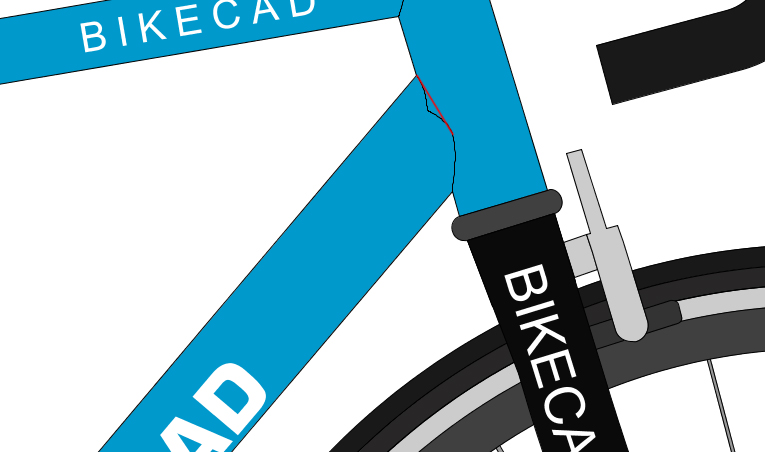
I dont have expensive tools to miter tubing. Its all done by hand. So i took prints, wrapped it on the tube, thats when I realized, the template doesnt have a radius on the trailing edge of the tube, Which obviously wont give me the desired results while welding. Also, the miter template for the BB junction doesnt come up if its an aero tube !
So I've come up with a hack to help people like me to use this wonderful software, and not look elsewhere! I hope it really helps. Also this is the first time I'm typing a tutorial, please pardon any errors ! I would like to add that I've used this hack for a bike with aero downtube only (-15mm offset at BB), but I'm sure it will come in handy for other main tubes as well.
1) BikeCAD gives a fairly good template for the headtube junction, only issue is the trailing edge, use this template for the time being
2) Create an alternative file with same measurements like in the original file ( you will be needing the original file for the templates of other tubes, especially the headtube miter for the aero tube), but instead of the aero tube, use a regular round tube which has the same leading edge diameter of your aero tube
3) This is the part where you create your pseudo aero tube miter. Create an 'extra tube' and place it on the frame in such a way that the overall height of both the extra tube and your main tube should exactly be the same as the height of your aero tube . The 'extra tube' should have the same diameter as the diameter of the trailing edge of the aero tube.

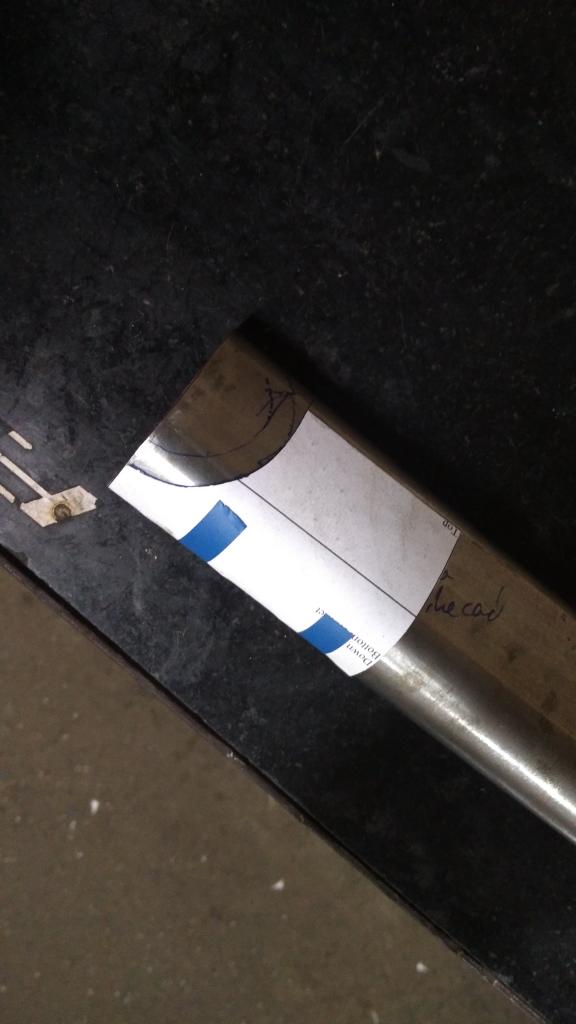
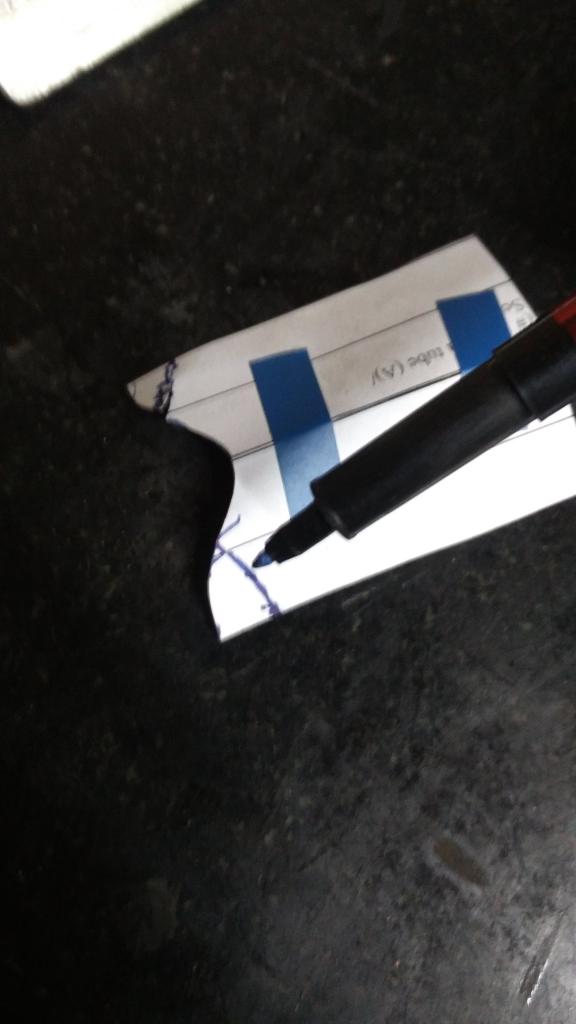
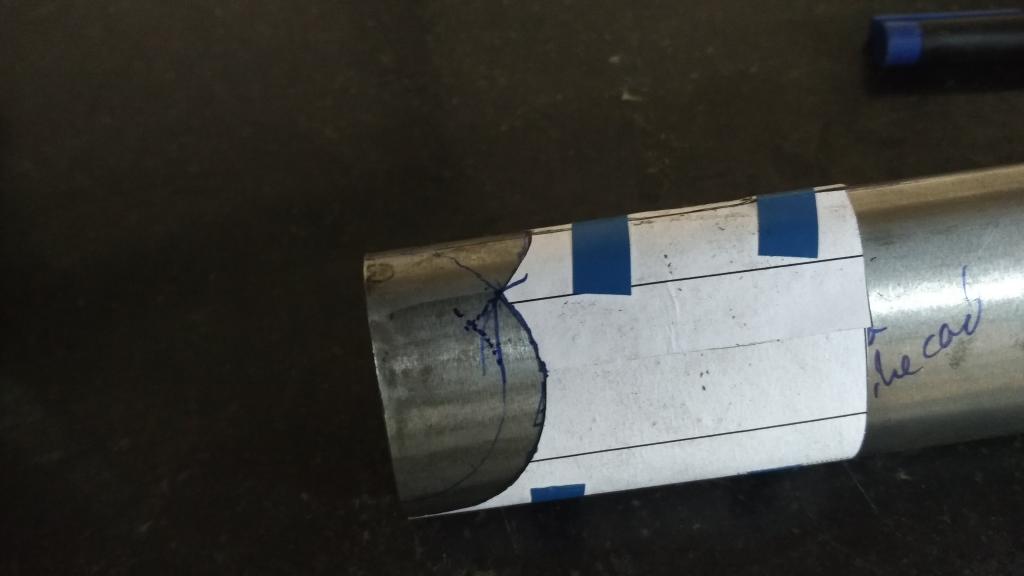
4) Use the original template for headtube miter and use the miter template from the alternative file for the 'extra tube' for headtube joint. Stick both of these to your tube and miter it by creating one extra line using a sharpie directly onto the tube, like in the picture.
5) Use the same procedure for the BB junction, but in this case, you will have to use the miter template from the alternate file you created, because you'll need the miter template for both the original tube and the extra tube to create this sort of pseudo aero downtube miter. Please check the uploaded images to get an idea


Hope this helps!
Cheers :)
Miter templates for aero tubing
Thanks for sharing this technique. It makes me realize it's probably time I added a radius to the trailing edge of aero tubes.
Thanks Brent!
Thanks Brent!